Keypoint Detection Guide
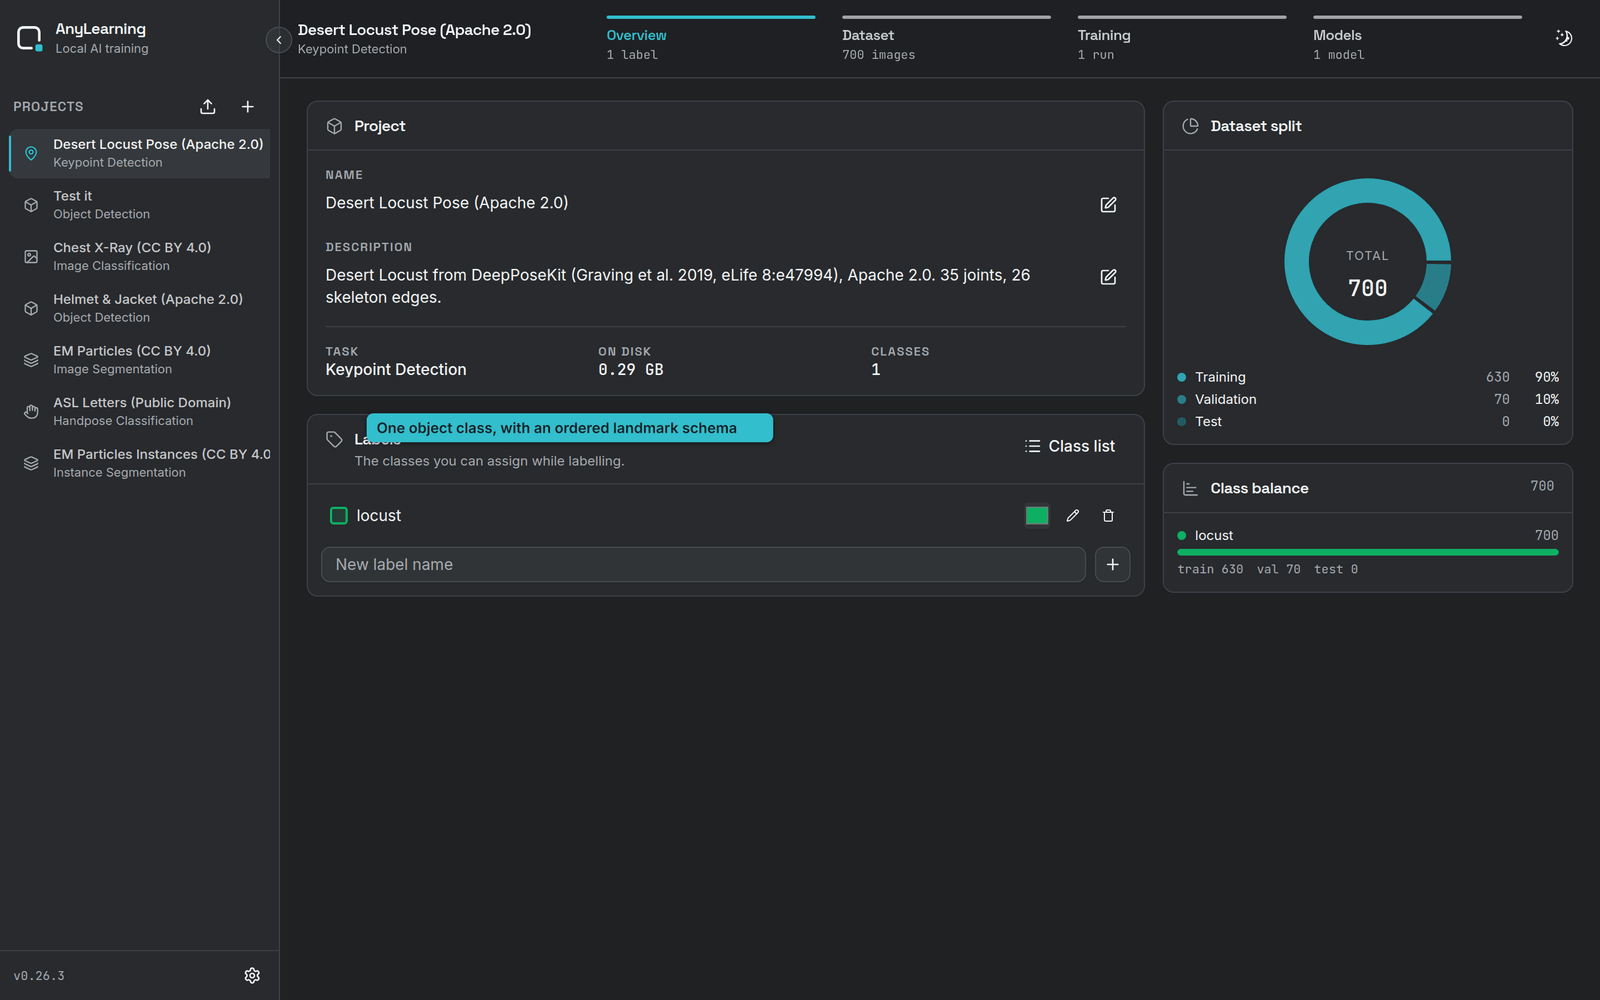
Keypoint detection finds named landmarks and keeps the points belonging to one object together. The same workflow can describe joints on an animal, corners on a manufactured part, or reference points in a medical image. AnyLearning does not assume a human skeleton: every project defines its own landmark names and connections.
This walkthrough uses the Apache-2.0 DeepPoseKit Desert Locust dataset (opens in a new tab), mirrored as import-ready AnyLearning archives (opens in a new tab). Each 160 × 160 image contains one locust with 35 named landmarks and 26 skeleton edges. The screenshots use the 630-image training and 70-image validation split published by MMPose. Cite Graving et al. (2019) (opens in a new tab) if you use the dataset in research.
Step 1: Create the project and schema
- Click Create project.
- Pick Keypoint Detection.
- Name the project and describe what one instance represents.
- Add the object class, its ordered keypoint names, and the skeleton edges.
The order is part of the model contract. Landmark 1 must mean the same thing in every image and split; renaming or reordering the schema after labelling makes the annotations inconsistent.
Step 2: Import annotated data
AnyLearning reads COCO keypoint annotations. A category can contain:
keypoints: the ordered landmark names;skeleton: one-based pairs describing which points connect;- per-object
keypoints:[x, y, visibility]triplets; and - a bounding box identifying the instance.
Put the images and COCO JSON in a zip, then upload the training and validation archives to their matching splits. Keep validation images out of training; a metric measured on images the optimizer has already seen is not a validation metric.
Download train.zip (opens in a new tab) and valid.zip (opens in a new tab), then upload them to their matching subsets. The archives use the documented MMPose 90/10 split and embed their Apache-2.0 attribution.
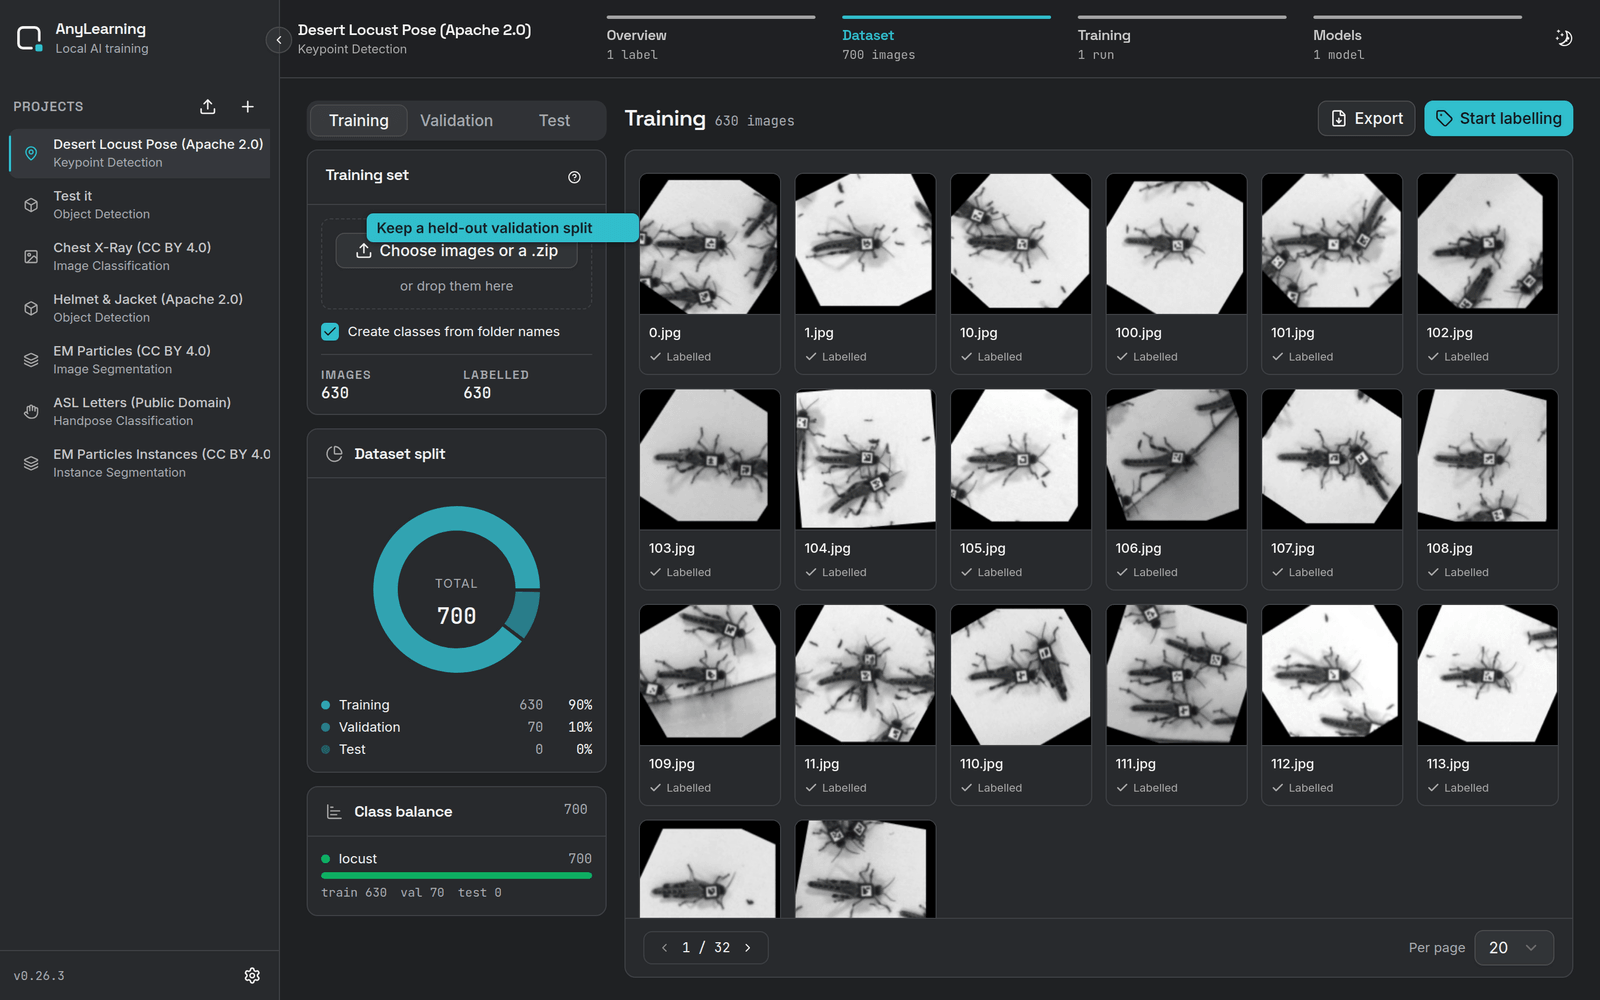
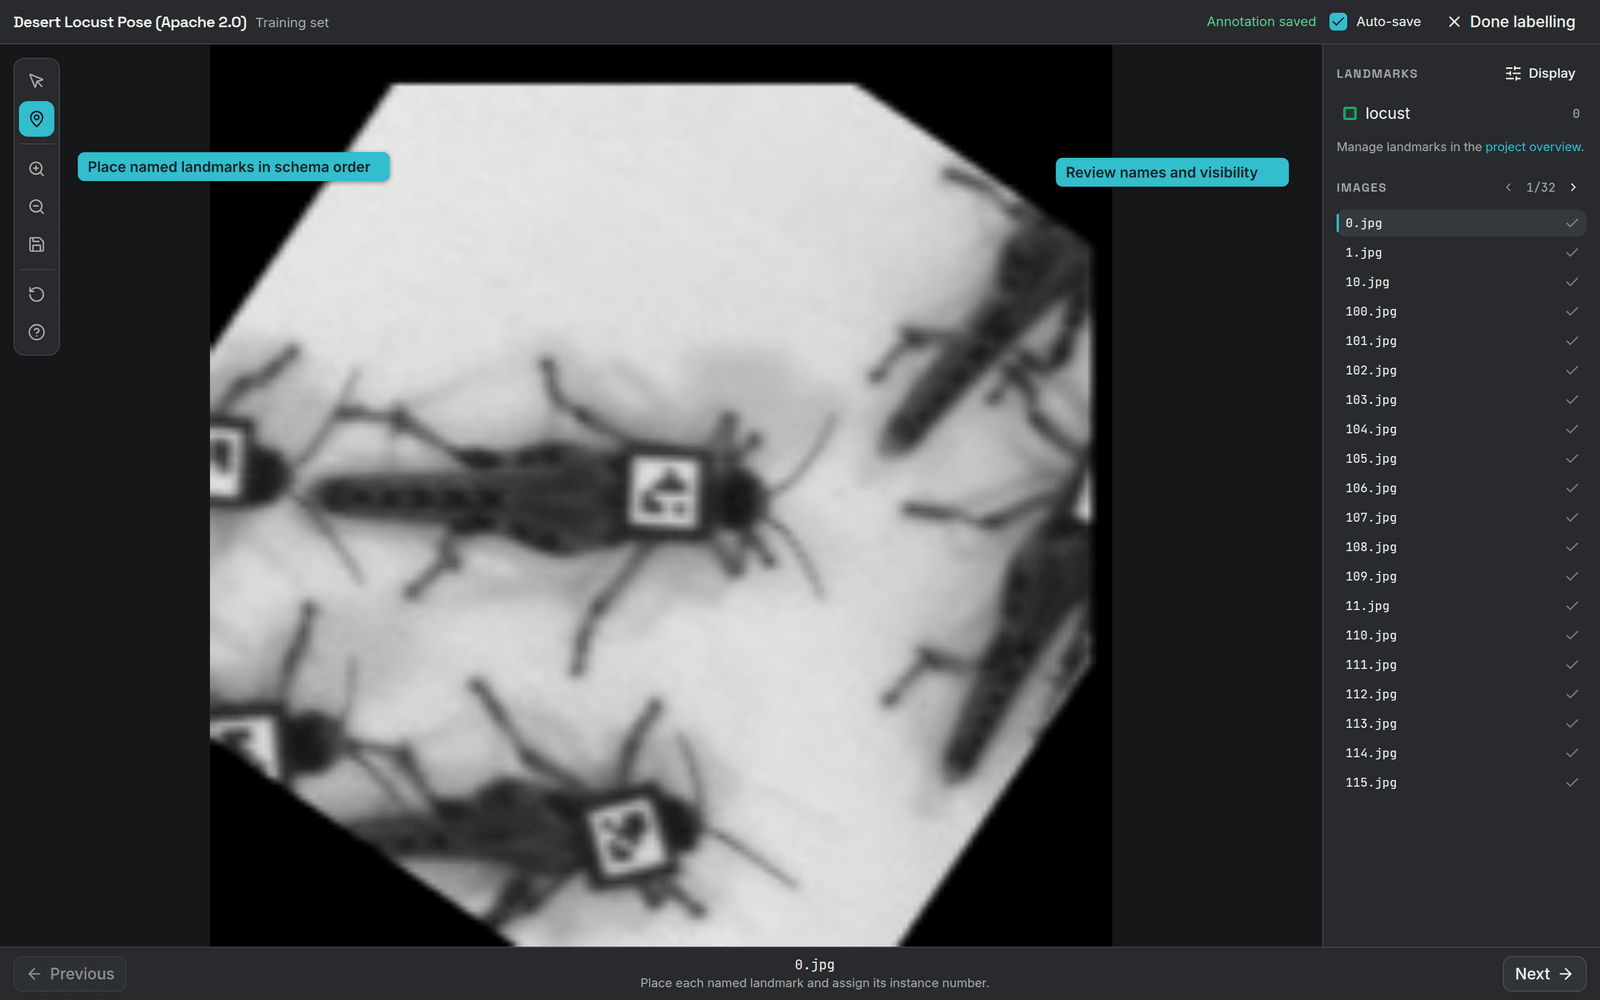
Step 3: Review or label landmarks
Before training, open images from both splits and check the annotations:
- Click Start labelling.
- Select the keypoint tool and choose a landmark name.
- Assign the same instance number to points belonging to the same object.
- Mark a point Occluded when its location is known but hidden. Leave a genuinely absent point out instead of inventing a coordinate.
- Save, reopen the image, and verify the names, instance IDs and visibility.
Use Display to show landmark names, instance IDs, occlusion status and the skeleton. These options change only the canvas; they do not rewrite the saved annotation.
Step 4: Train RF-DETR keypoints
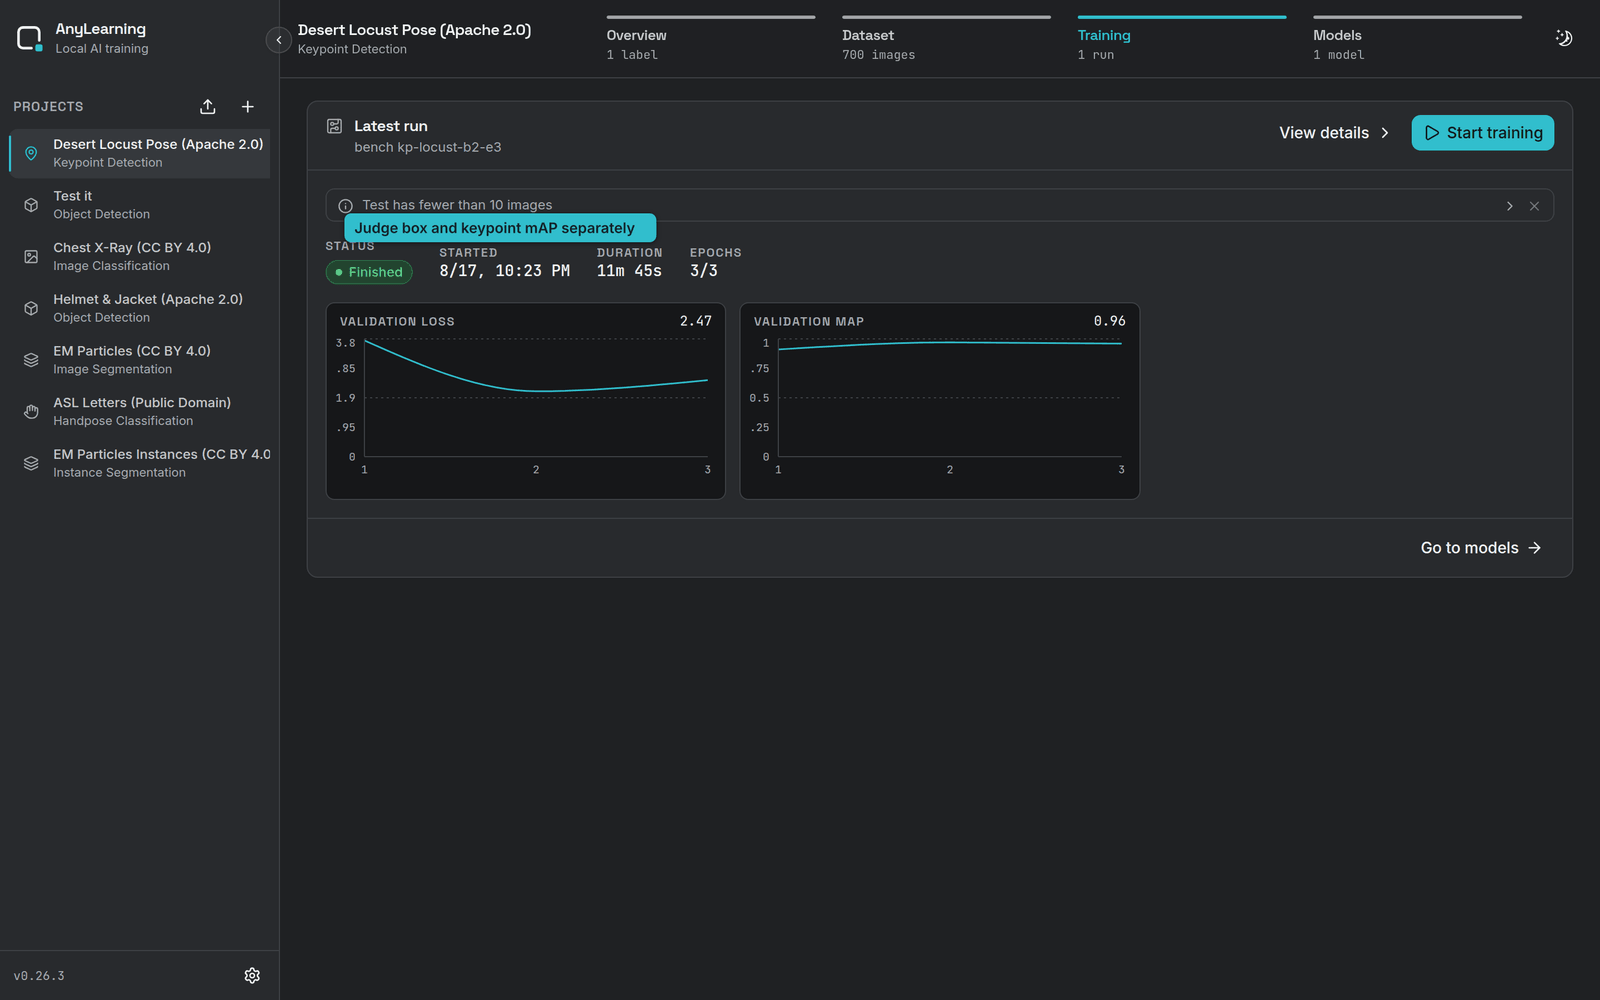
Open Training, click Start training, and choose RF-DETR-Keypoint-Preview.
- Start with the default learning rate,
0.0001. - Use batch size 2 on a 16 GB GPU. Increase it only after checking memory use.
- Leave image size at Model default for a quality run. A smaller image can make a packaging smoke test faster, but it also removes landmark detail.
- Use enough epochs for held-out keypoint mAP to move. A run that detects the box but reports zero keypoint mAP has not learned the pose yet.
- Compare Validation Keypoint mAP, Keypoint mAP@50, box mAP and loss. No single number explains every failure mode.
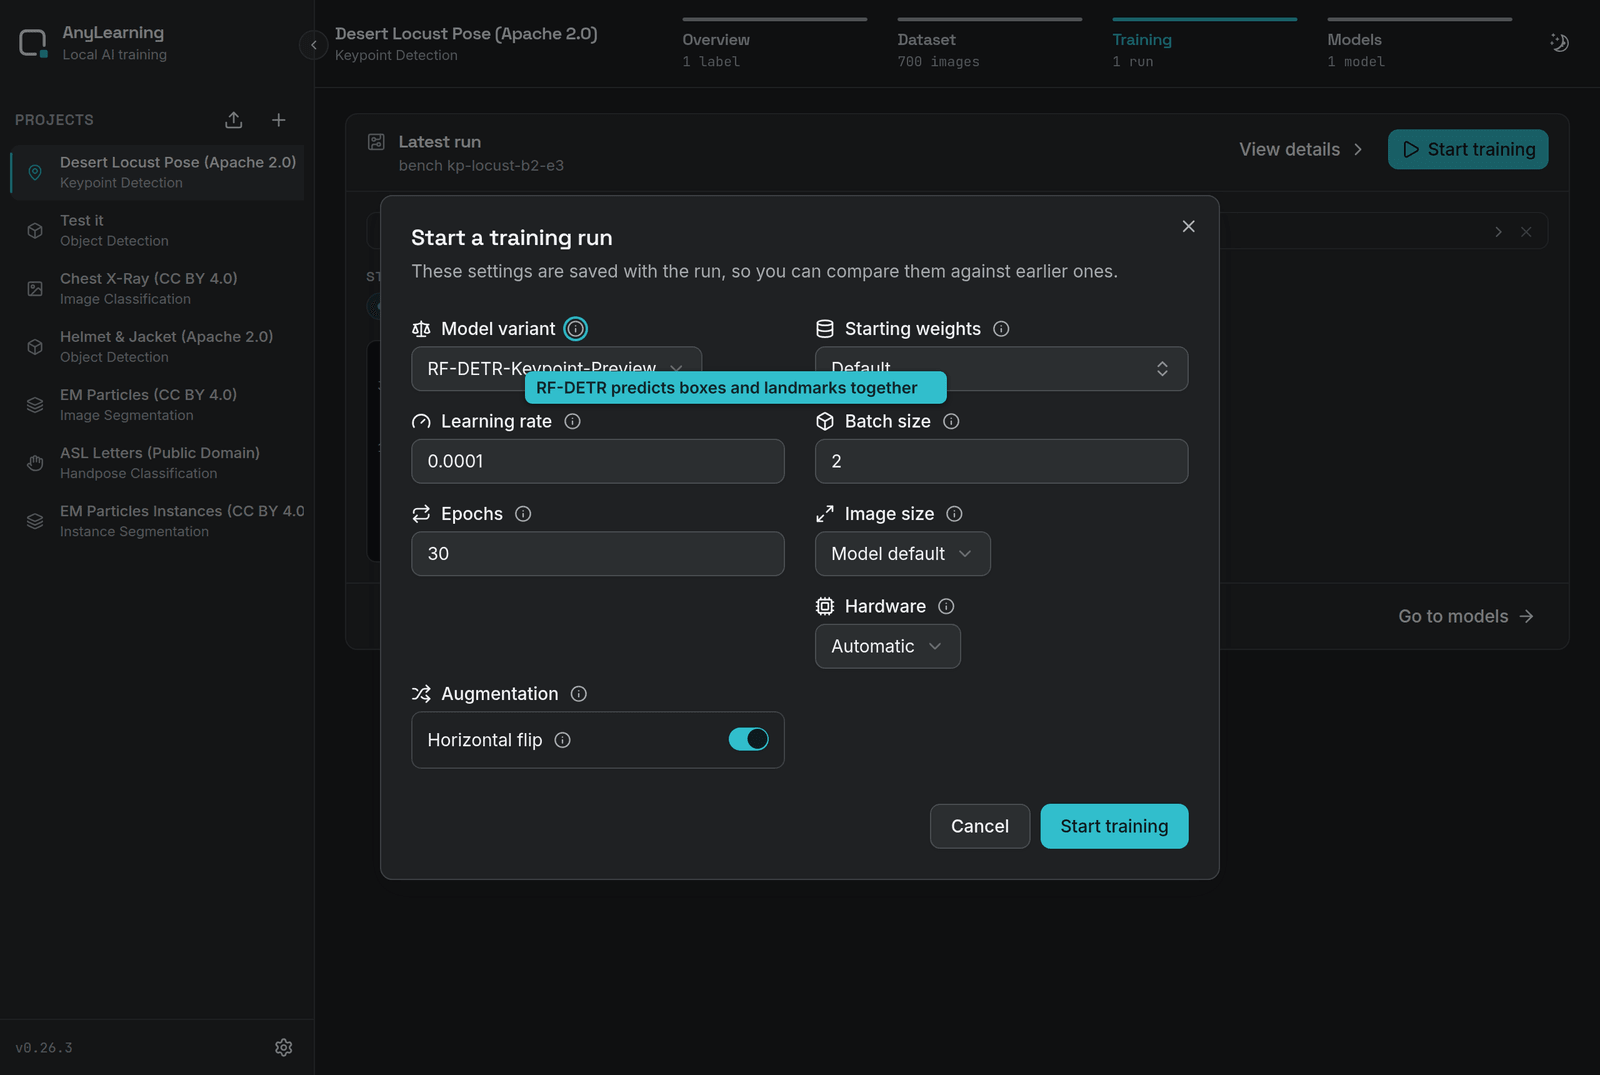
The short run in these screenshots is deliberately a pipeline check. It proves that training, export and model registration complete; it is not an accuracy benchmark. For a model you intend to use, train longer and stop only after the held-out landmark metrics and visual predictions are acceptable.
For a reproducible reference, download the public AnyLearning RF-DETR Desert Locust model (opens in a new tab). Its model card includes the native and ONNX checkpoints, exact schema and training configuration, 70-image validation metrics, checksums and a held-out prediction.
Step 5: Inspect and export
- Open Models and click Try.
- Choose Use a test image, or upload a genuinely unseen image.
- Inspect the rendered landmarks and the structured result together.
- Check for swapped left/right limbs, points attached to the wrong instance, and landmarks that collapse onto a box edge.
- Download Raw Model for the RF-DETR checkpoint or ONNX Model for the portable graph and its configuration.
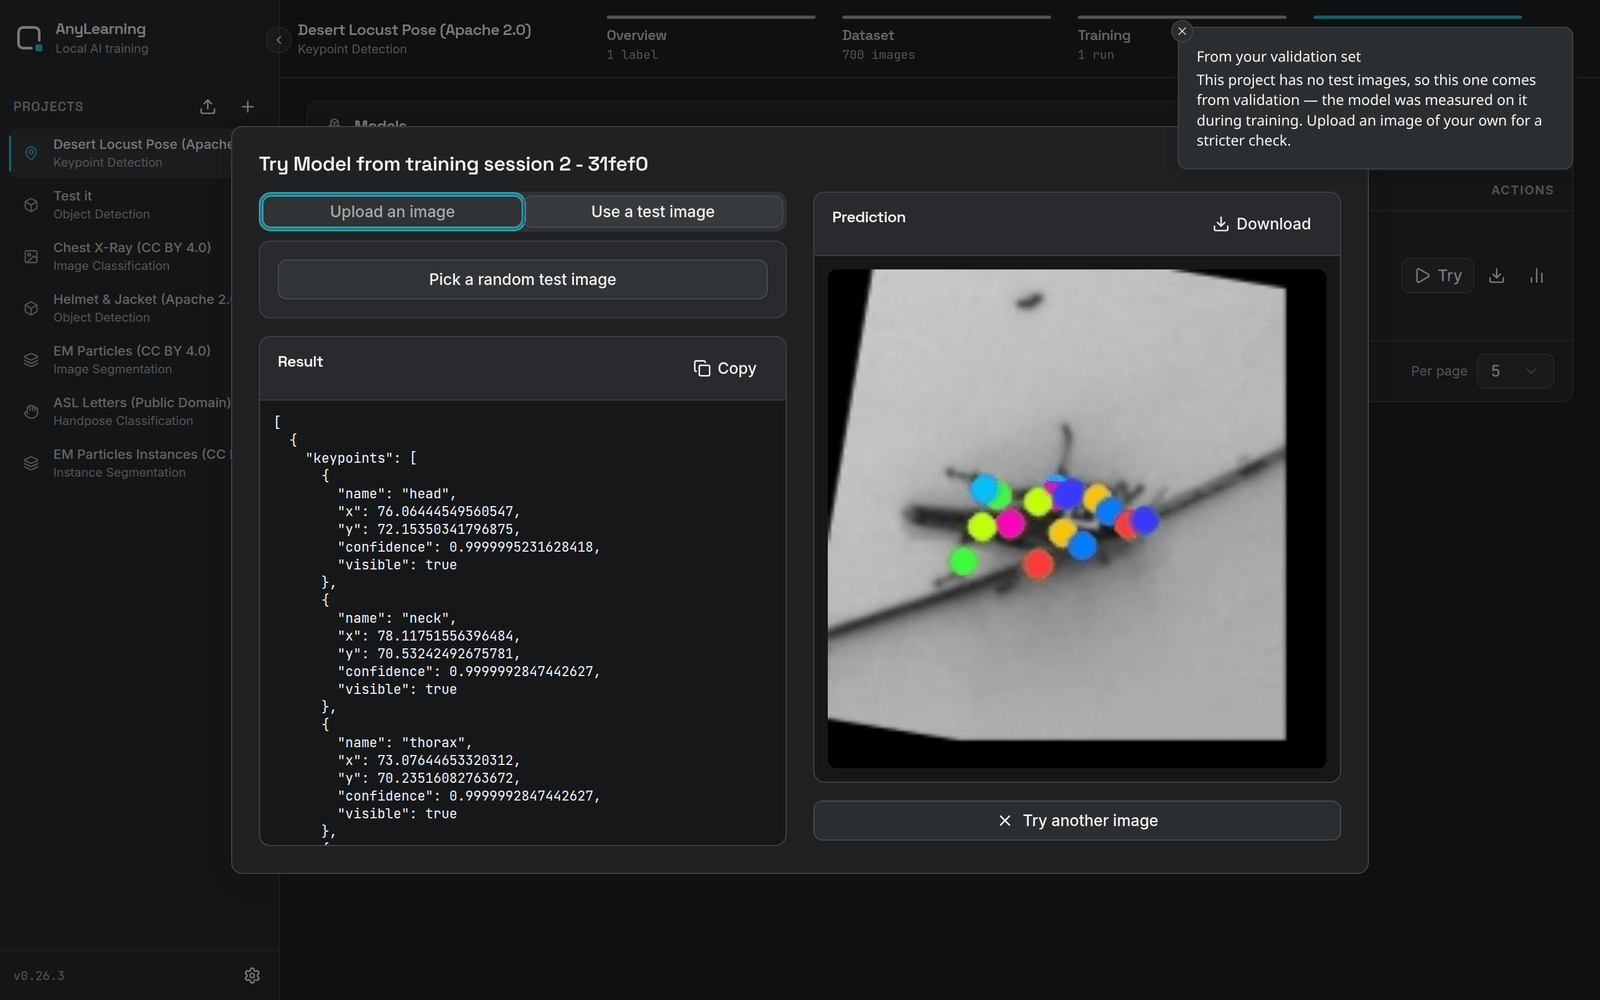
Aggregate mAP can hide systematic mistakes, so visual review is part of model
evaluation rather than a presentation step. Keep the exported config.yml
beside the model: it records the landmark order the output tensor uses.